Instructions
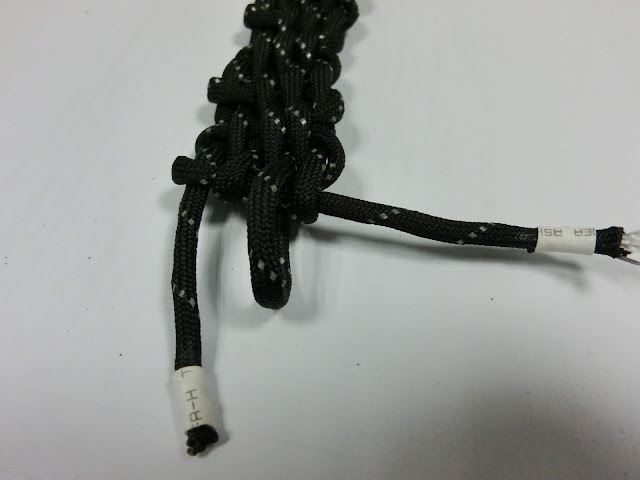
First: how much cord do you need? Well, since you only need one free end of cord to work with, you can actually make this on the main supply of cord, then cut the cord. That's a hallmark of slip-off designs, isn't it? You only need to work with the middle of the cord - just think of how you can tie a slip-knot without touching the ends of the cord. See also: sewing machine chain stitch.Start by tying the cord to an anchor, leaving enough length for the length of the bracelet (left most strand in the picture, with the white tip). Make 3 (or 4) more loops through the anchor. The loops should be at least as long as the free strand (and a bit more than the length of your bracelet). Make sure the loops are the same length (or make the middle loop longer if you want to do what I did below).
Make a loop of the free cord and weave it through the vertical strands. Pass the free strand through the loop when it comes through to "lock". Tighten. Repeat.
This is where the longer middle loop comes in. Having 4 strands on the anchor is a bit crowded. Once you've done enough to stabilise the top, you might want to take off the anchor, hook the loops on one another so they're all hanging off the middle loop, then only hang that on the anchor. It's like casting off when knitting (image search that for what it should be like).
The good thing about this method is you don't really have to tie the ends - they're "self-locking". Having a longer middle loop also lets you hook only that.
Here's the finished bracelet.
Removal
Pick out the locking strand.Pull out as much cord as you need. The good thing about this design is you can take only as much as you need.
Review
- Quick deploying
- Single sided deploying
- Not very compact
- Looks messy
- Takes longer to make than cobra weave


No comments:
Post a Comment